| Version 15 (modified by , 10 years ago) ( diff ) |
|---|
Getting started
PACPUS is a framework provided as source code so to use it you have to compile it by yourself.
Prerequisites
This tutorial was validated under a Linux Mint 17.2 distribution.
First you will need some third party software, run this command in a terminal:
sudo apt-get update && sudo apt-get install subversion build-essential libboost-all-dev cmake qt5-default qttools5-dev qttools5-dev-tools
Compilation, installation of PACPUS framework
Then we will get the code and compile it.
cd ~
mkdir dev && mkdir dev/pacpus
cd dev/pacpus
svn co https://devel.hds.utc.fr/svn/pacpusframework/tags/0.2.2 pacpusframework
cd pacpusframework/build
./build_linux.sh
First cmake will prompt you the result of the project building:
-- Configuring done
-- Generating done
Then the build process will start in release and debug modes. If succeeded the script will install the pacpus environment in /opt/pacpus
Testing
To finish we will check the working of the installation
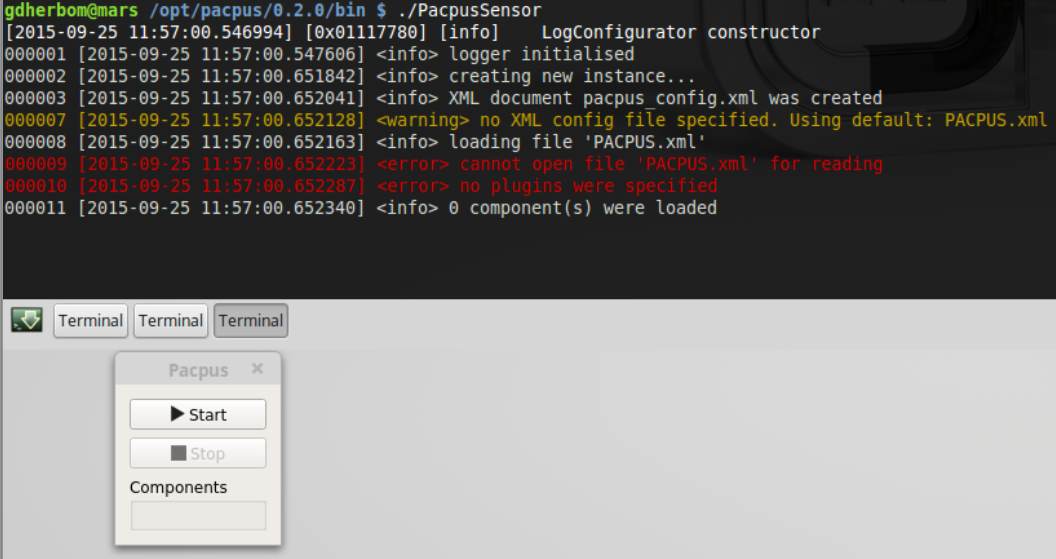
sudo chown -R $USER /opt/pacpus
cd /opt/pacpus/0.2.0/bin
export PACPUS_ROOT=/opt/pacpus/0.2.0
export LD_LIBRARY_PATH=$LD_LIBRARY_PATH:$PACPUS_ROOT/bin
./PacpusSensor
If working you will see the PacpusSensor window on the screen.

Of course, as we don't provide a XML configuration file, we will get some errors in the terminal.
If you don't want to worry about the setting of the environment variables PACPUS_ROOT and LD_LIBRARY_PATH every day, you can write the following lines in your ~/.bashrc
export PACPUS_ROOT=/opt/pacpus/0.2.0
export LD_LIBRARY_PATH=$LD_LIBRARY_PATH:$PACPUS_ROOT/bin
Let's go to the PacpusTutorials page to know how to develop quickly a new application.
Attachments (1)
-
pacpussensor.png
(274.9 KB
) - added by 10 years ago.
pacpussensor
Download all attachments as: .zip